easy DIY photography backdrop/background board

When I started taking pictures, I spent a while looking for backdrops I could employ in my kitchen, where I get great window light. I constitute lots of options, but almost were adequately expensive (upwards of $100 each), and many would take also much space to shop. I sometimes used blankets as inexpensive backdrops, just I actually just wanted a apartment surface in a couple of different colors that I could prepare up easily backside a kid to take portraits with.
Want more properties ideas?: Discover xx DIY photo backdrops here
And so I wandered Dwelling house Depot until I establish the solution:
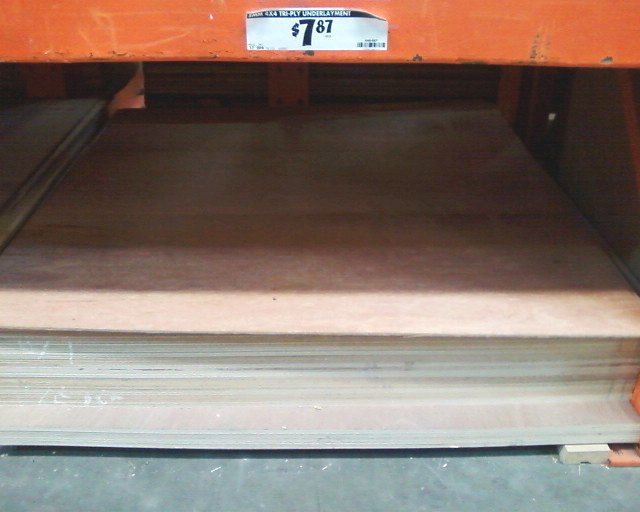
Sorry for the bad camera telephone flick, but it's a iv ft x 4 ft piece of triply underlayment that's fairly smooth on both sides, thin enough that it'south liftable, and (the best part) only $viii. I bought two, wrangled them into the back of my minivan, and headed home.
I painted one side of one white, using paint I had left over from painting ceilings in my firm. A flat white background is fantastic for getting photos like this one:
Or this:

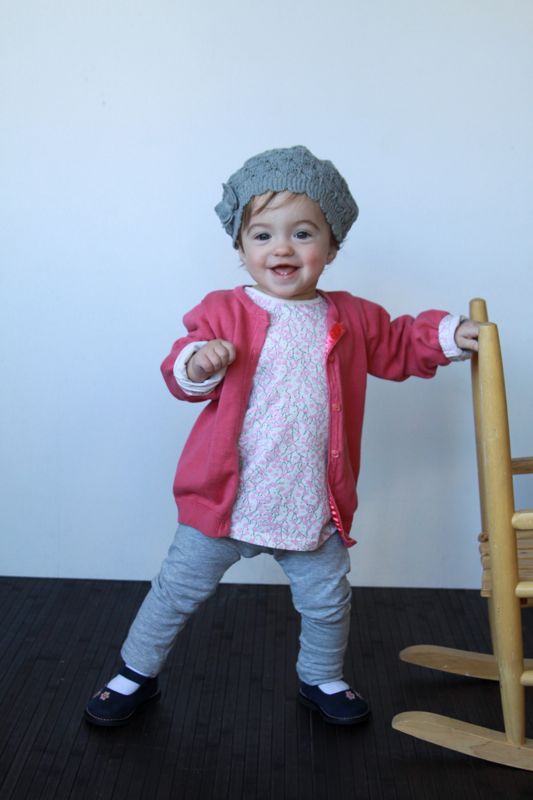
I painted another side blue, using an 8 oz sample size tin can of pigment from Home Depot ($3 in any color you want). If you are going to use sample size paints I'd recommend priming the wood get-go to make sure the sample size corporeality of paint is plenty to encompass the entire surface. I used a actually brilliant bluish for a fun popular of color in pictures like this:

I similar to pair the blue properties with a iv ft piece of white trim at the bottom, to get a more professional expect. Just use a clamp on each end of the trim to attach it to the lesser of the background.

A 3rd side got painted grey:
And the fourth side got left alone for a natural woods wait.
How to use a Backdrop Board
Using and storing these backdrops is pretty simple. When non in utilize they live in my garage. I slide them backside my rake/shovel/tool organizer and they hardly take upwards whatsoever infinite. When I want to use them I just bring them into the kitchen and lean ane against the backs of two chairs and position my subject in front of them.
Please Annotation: You MUST ENSURE THAT ANY DIY BACKDROP IS BEING USED SAFELY. Exist certain that y'all clamp the backdrop lath to the chairs (or whatever it is leaning against) to ensure it will non fall over. Additionally, whatsoever time y'all are taking pictures of a baby or child, yous MUST have a spotter that stands virtually the baby at all times. Y'all are responsible for ensuring the safety of your children or anyone else you lot photo.
I oftentimes use these backdrops in conjunction with my iv ft x 6 ft bamboo floor mat, which I constitute on sale for less than $40 shipped from Natural Area Rugs.
The 4×4 backgrounds too get in piece of cake to use a blanket as a background – just clamp the coating or fabric at the top sides and bottom sides of the groundwork board – if you lot pull fabric tight, you lot won't accept to worry about wrinkles showing up in your photo.

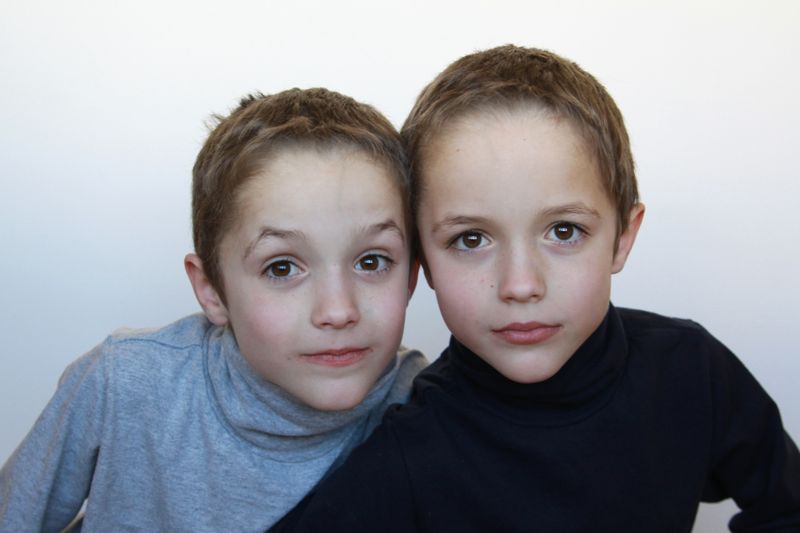
Obviously, since the backgrounds are simply 4 ft tall, they don't work for standing adults/older children or large groups. However, they piece of work keen for adult headshots:

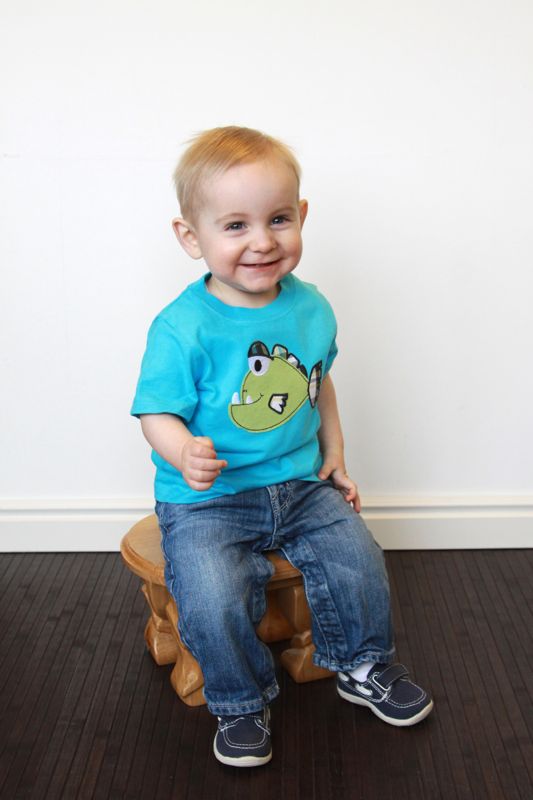
Older kids who are seated:
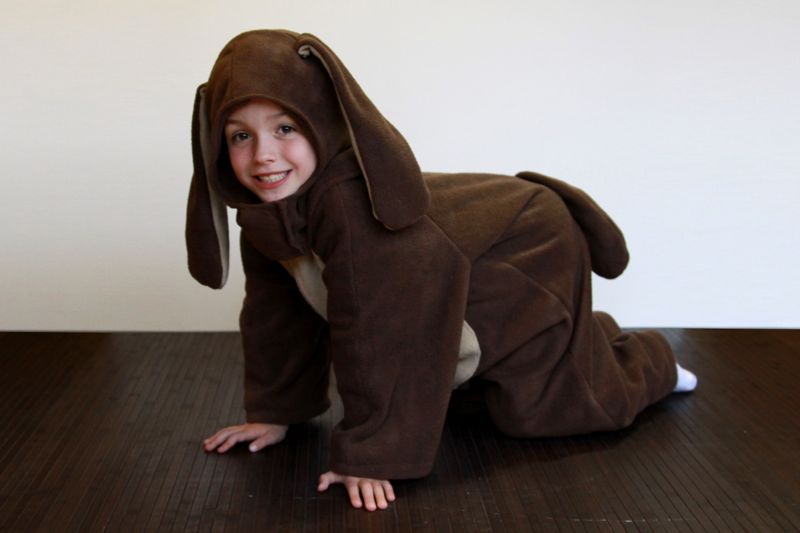
Taking pictures of Halloween costumes:
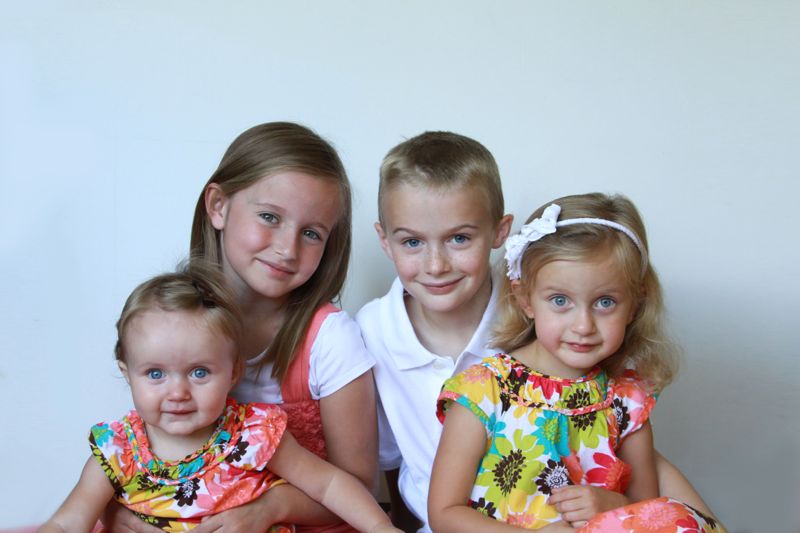
And up to four kids at a fourth dimension if everyone gets cozy:
I've even used them as a floor for newborn shots:
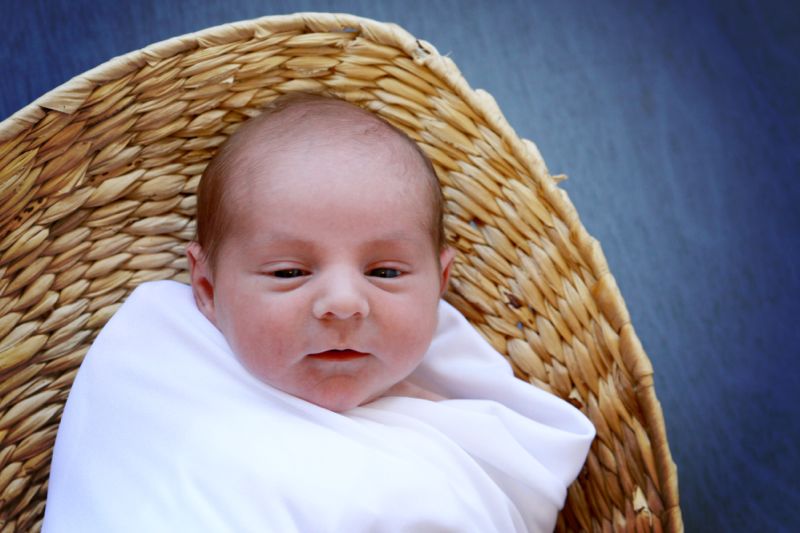
(This is the grey one with a fun color boost and vignette added in mail service processing.)
These backdrops are easy to apply and inexpensive to create. Here's a few tips in case you decide to make your own:
– Make sure to position your subject far plenty in front of the properties that they aren't casting a shadow on it. About kids will plunk themselves downwards with their backs right up against the backdrop. Ask them to move forward at to the lowest degree a few feet for the best looking shot.
– These work best with window light – trying to apply overhead lights with these just won't give the aforementioned results (run across my window lite post for tips)
– When using the white properties especially, be careful with your white residuum settings. More often than not if yous are using window light on a sunny twenty-four hours, the motorcar or sunny white balance setting volition exist great, just on an overcast day you may desire to switch to the cloudy setting.
– You must clamp the backdrop board to the back of the chairs it'southward leaning confronting to be sure it doesn't autumn on anyone.
I've used these over and over and I withal think they're a groovy solution for a small space and a tight budget.
For fifty-fifty more DIY photography backdrop/background ideas, bank check out these posts:
20 DIY photography backdrops
DIY abode photo studio (with 5 easy backdrops)
DIY abode photo studio pt.two (with 5 more easy backdrops)
Source: https://www.itsalwaysautumn.com/photograph-easy-diy-backdrop-board.html
Post a Comment for "easy DIY photography backdrop/background board"